
From Wikipedia:
|
Strich & Zeidler was a piano manufacturing company in the United States. The company was founded by William Strich in 1889 in New York City. [They were] known for building extremely well made, high priced pianos in elaborate styles and finishes. Its instruments gained praise from Petrowitsch Bissing of the Bissing Conservatory of Music.[1] The company also built pianos under the "Homer" brand name as a lower priced choice compared to the higher priced Strich & Zeidler models. The company manufactured pianos in modest numbers but experienced success until going out of business during The Great Depression. |

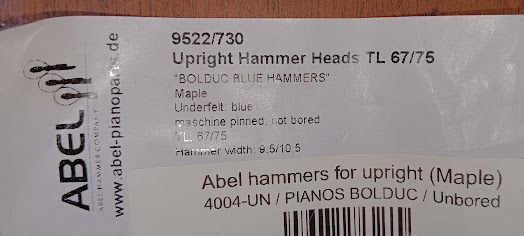
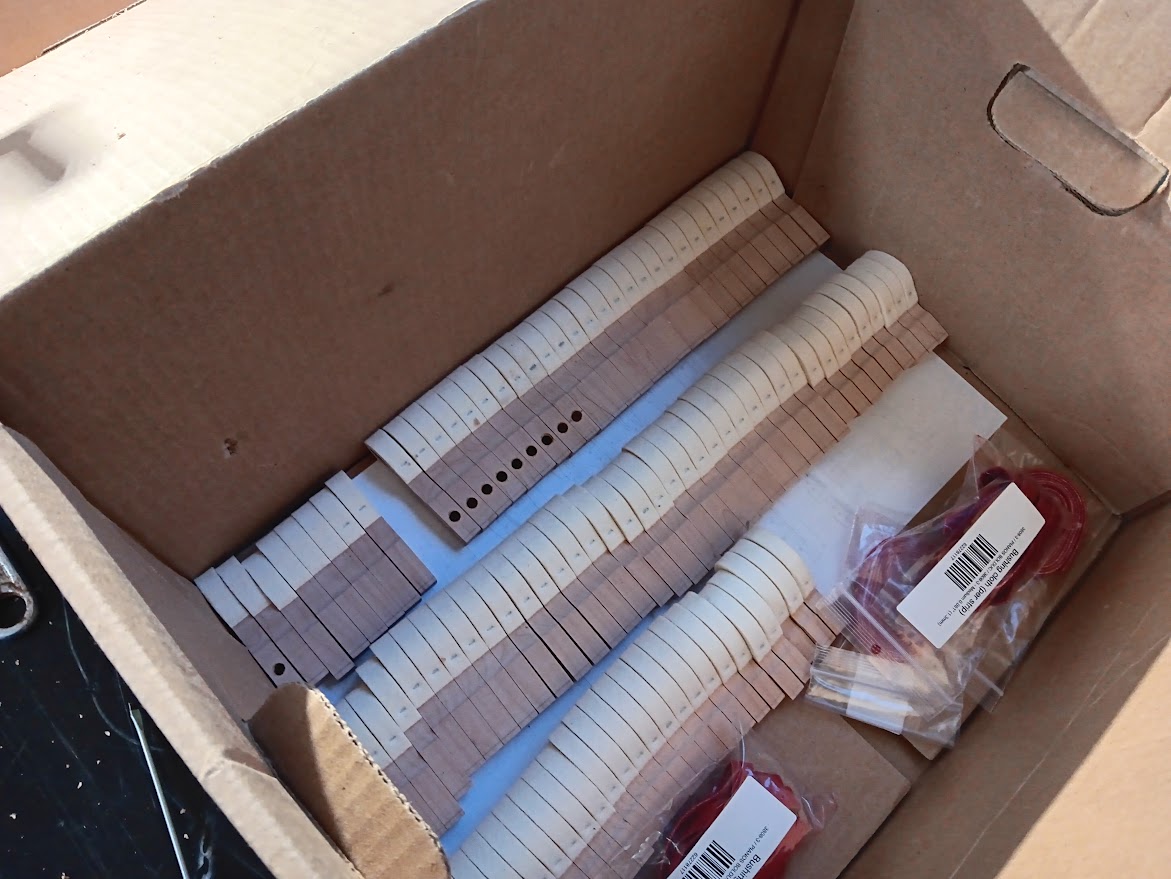
First step, ordering materials. This piano will be getting new hammer heads, key bushings, and treble damper felts, as well as some replacement ivories to complete the mostly original set of keytops. This piano is getting German hammers from Abel, sold by Pianos Bolduc.
Below: each hammer is carefully drilled. It is crucial to replicate the original orientations of the hammers in this process, and the hammers are divided by angle into seven different sections.
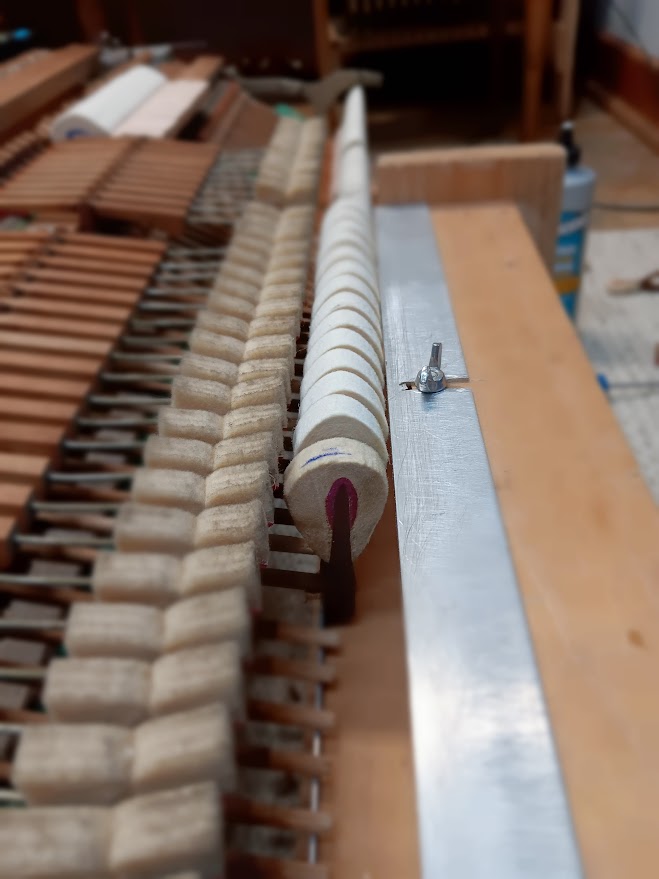
Below: maintaining the original strike line is crucial for tone production, as the hammer needs to strike a very precise point along the string's length. New hammers are glued using my homespun version of a jig used in some piano factories. Note the difference of shape between the new hammers and the immensely worn sample, grooved deeply from use & filed down over the years by piano technicians
Below: Preparing the keys and keyframe for work. Immense amounts of dust and fluff under the keys.
Not pictured: the fully-cleaned keyframe.
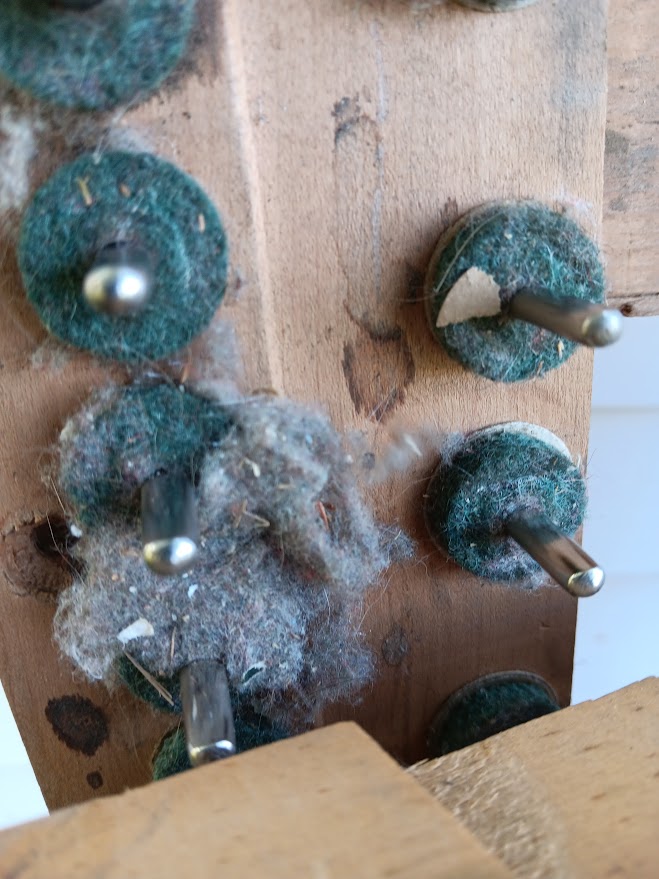
Next, before tending to the keytops, the original keys must be cleaned, and the felt bushings replaced.
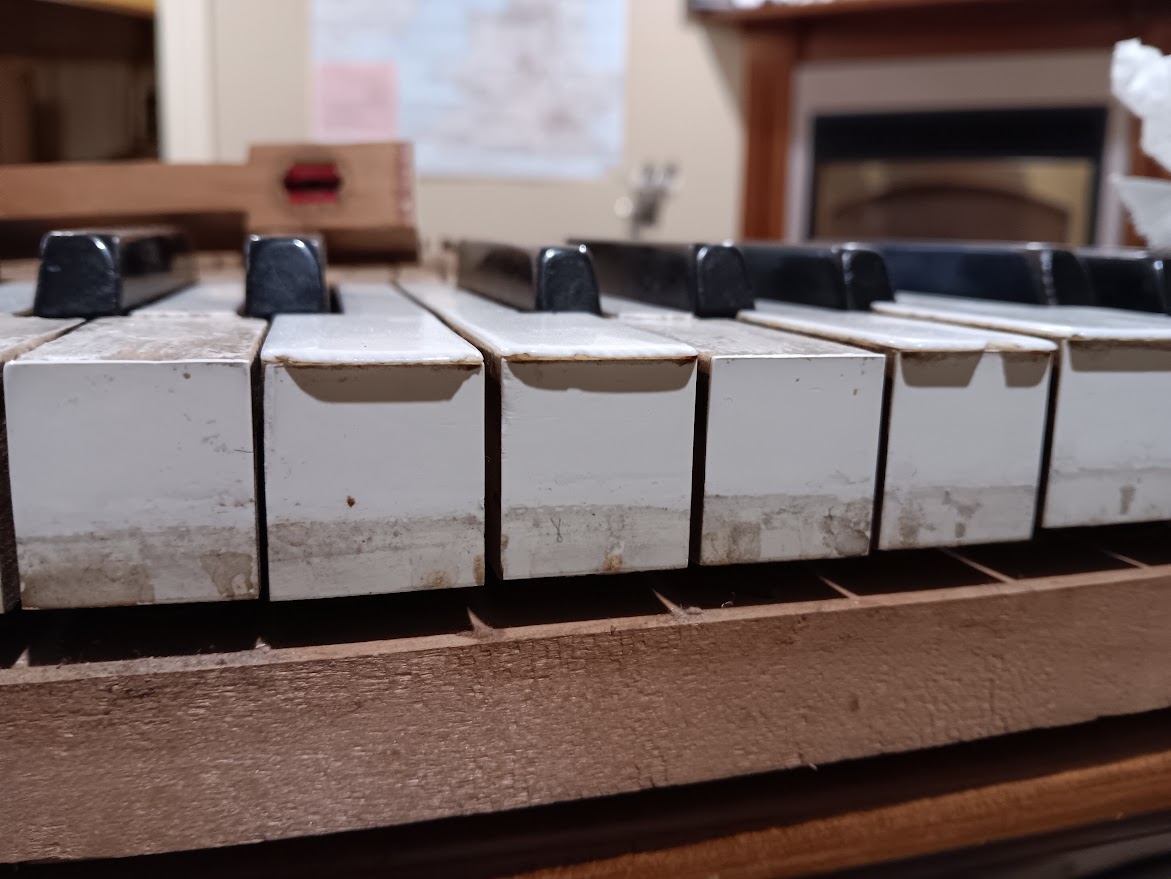
The key fronts are made of celluloid, a difficult material to clean. However, I have found this level of success by using "Mr Clean Magic Eraser" sponges.
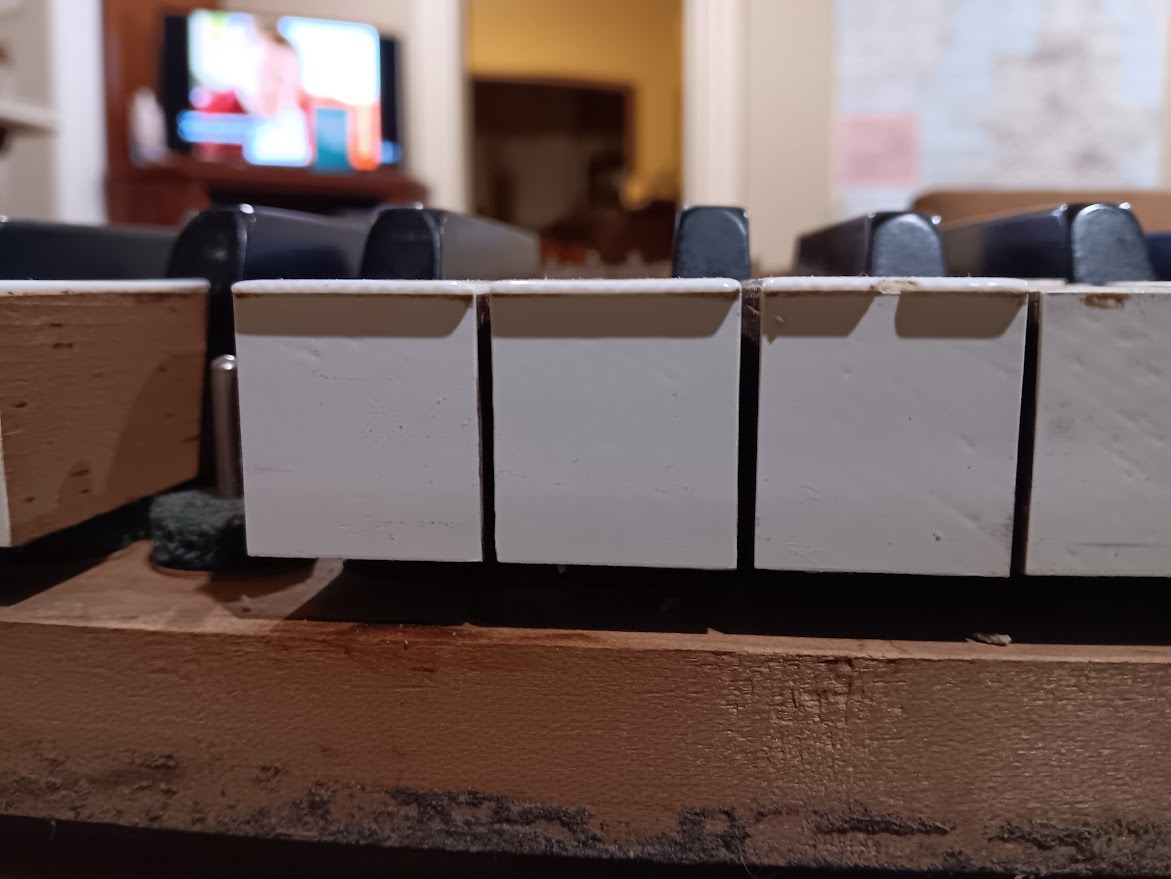
The Magic Eraser is also used to painstakingly clean every wooden surface of each keytop. Note how the sides of the keys become almost completely black. The Magic Eraser brings great results, without removing any original material like sandpaper would.
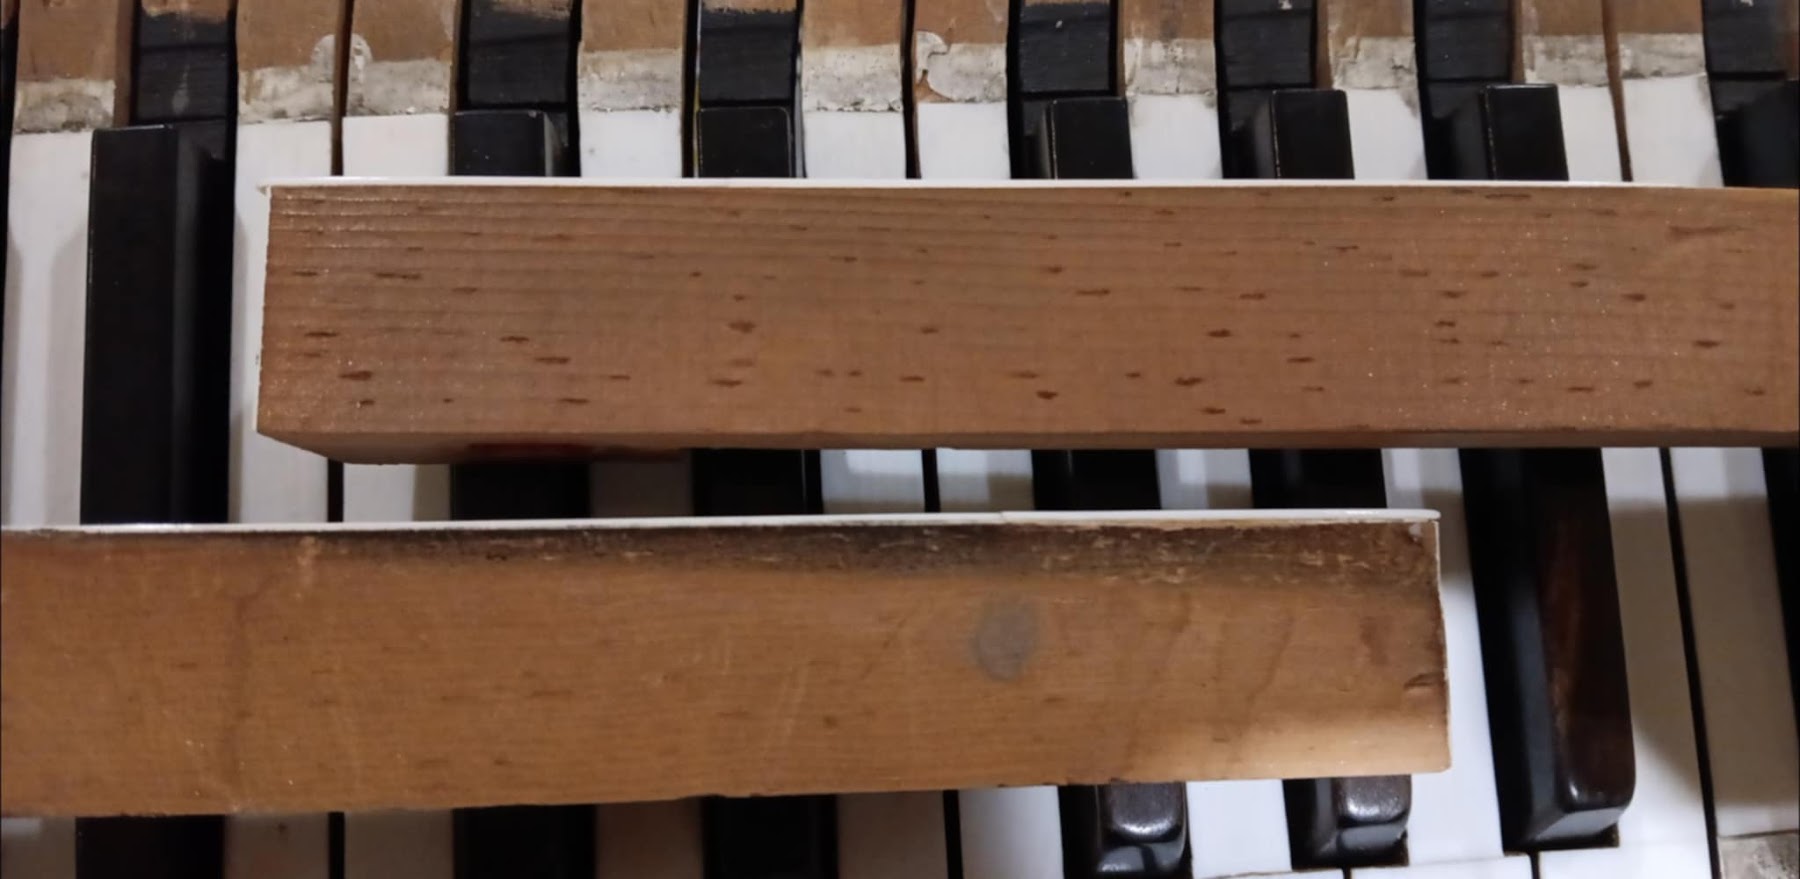
Below: old key bushing felt is steamed out with a hot iron and small wedges of water-soaked hammer felt.
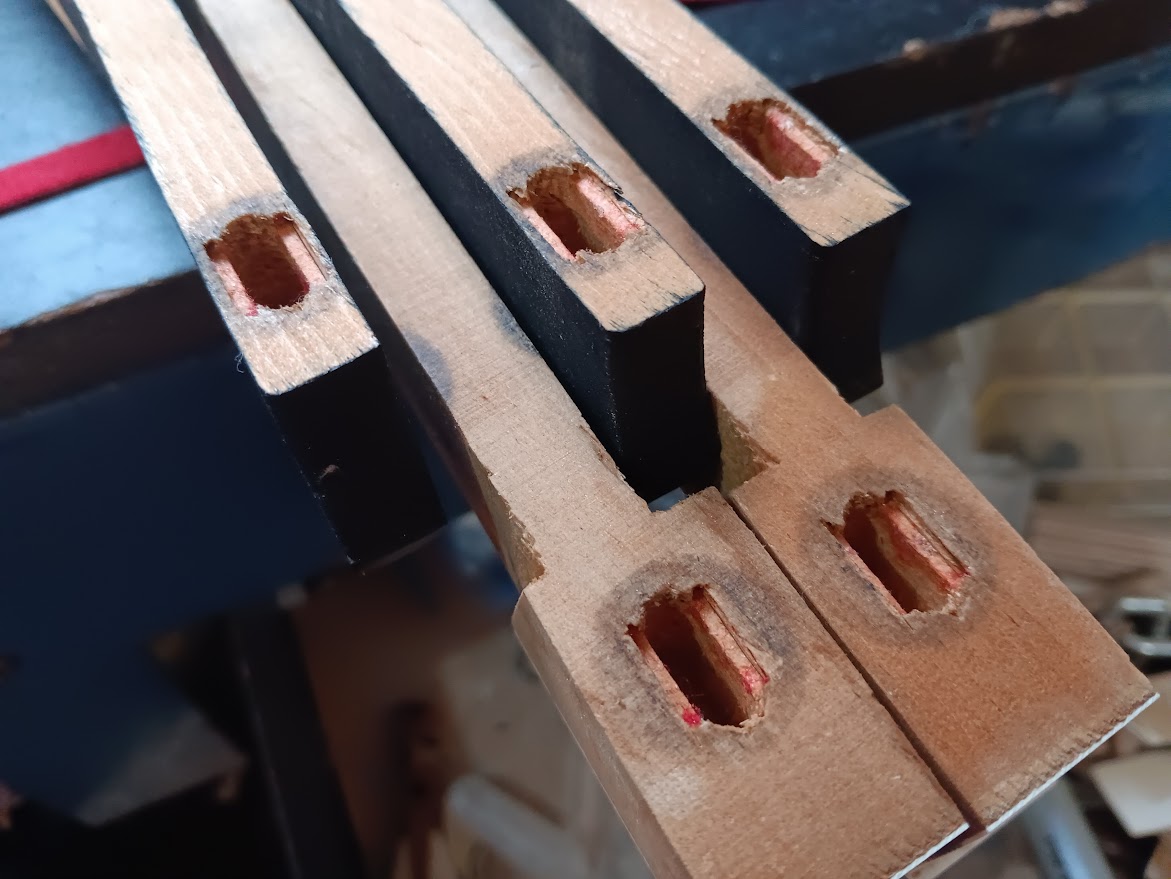
Below: new bushing felt is glued in place. Each key pivots on metal pins, and the felt is clamped using specially-made cauls sized to those pins.
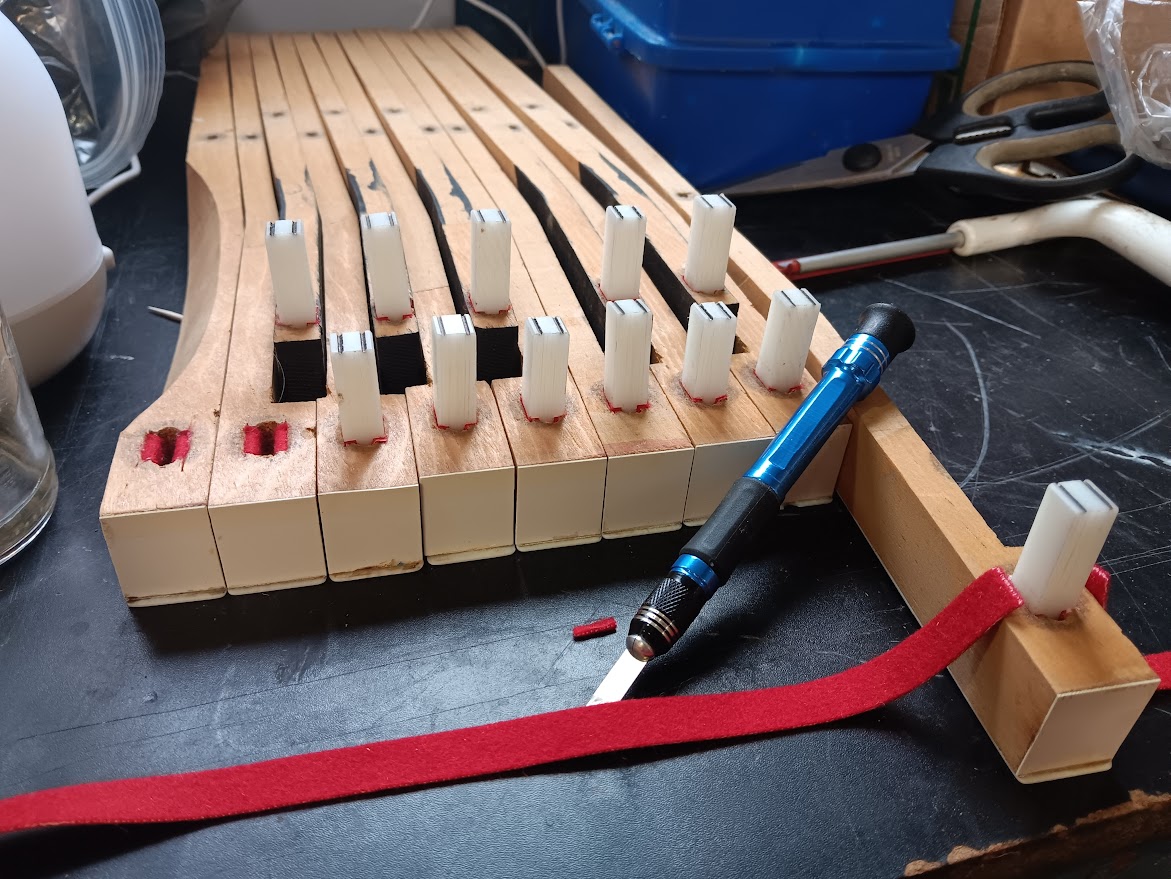
The surface wood has been scrubbed with the Magic Eraser, restoring something closer to the original colour.
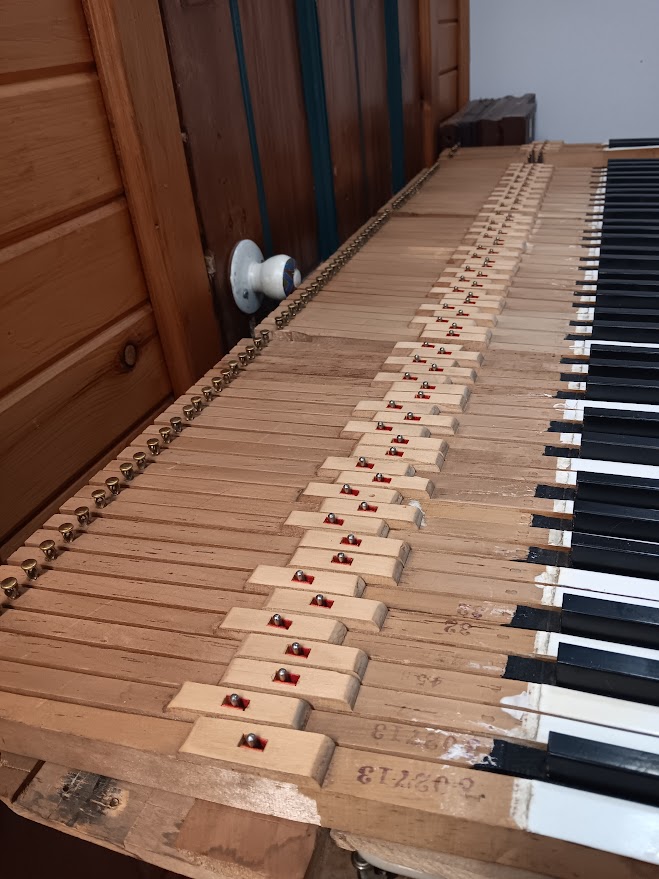
TO BE CONTINUED...